Raspberry Pi 2 建立列印伺服器
Before Installation
在安裝之前,請先準備以下硬體與軟體:
- 硬體
- Raspberry Pi 2 (With Raspbian)
- 可連線之網路環境
- 螢幕、鍵盤與滑鼠(非必要)
- 軟體
- 適用於 Linux 系統之印表機驅動程式(本篇以 Brother DCP-7040 為例)
Installation on RPi2
安裝 Brother DCP-7040 驅動程式。
安裝 CUPS (Now version is 2.2.1-8)。
1
2sudo apt-get update
sudo apt-get install cups接著要設定 CUPS,請以文字編輯器開啟
/etc/cups/cupsd.conf:1
2sudo apt-get install gedit
sudo gedit /etc/cups/cupsd.conf接著依序按以下步驟修改檔案
將
Listen localhost:631改為Listen 192.168.x.x:631。在
# Restrict access to the server# Restrict access to the admin pages# Restrict access to configuration files
三個項目中加入Allow @LOCAL讓其他電腦亦可管理 cups,若列印伺服器設定為遠端存取則改成加入Allow all,例如:
1
2
3
4<location>
Order allow,deny
Allow all # Add this line
</location>
最後將使用者加入 lpadmin 並重新啟動 CUPS 即可。
1
2sudo usermod -a -G lpadmin <YourUserID>
sudo /etc/init.d/cups restart接著在網頁上輸入 http://192.168.x.x:631 ,便可連線進入 CUPS 的控制台,並按下 Adding Printers and Classes。
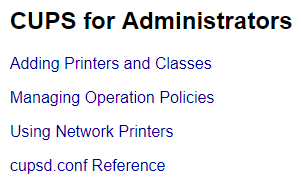
按下 Printers 的 Add Printer 按鈕,接著網頁會重導至 https://192.168.x.x:631/admin/ ,並要求使用者輸入帳號密碼,此時請輸入方才加入至 CPUS 的使用者帳戶與密碼。

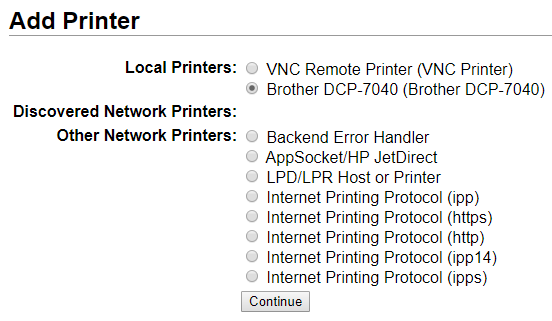
在 Local Printer 選擇接上的印表機(Brother DCP-7040 (Brother DCP-7040),接著按下 Continue。
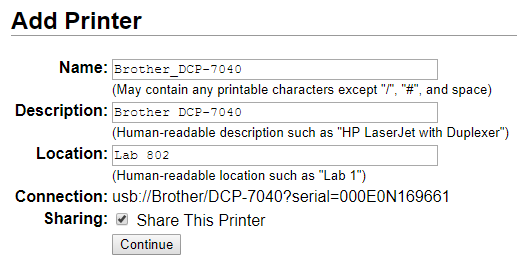
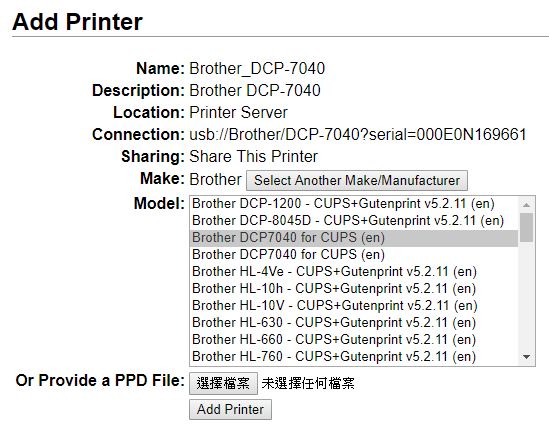
設定印表機的 Name、Decription 與 Location,需要注意的是 Sharing 一定要打勾:
- Name:印表機的名稱
- Decription:印表機的說明(非必要)
- Location:印表機的位置(非必要)
最後,選擇印表機的 Model 後按下 Add Printer 便完成新增印表機了。如果 Model 中沒有出現印表機的名稱,請確認驅動是否已安裝。
Add Pinter on Windows 10
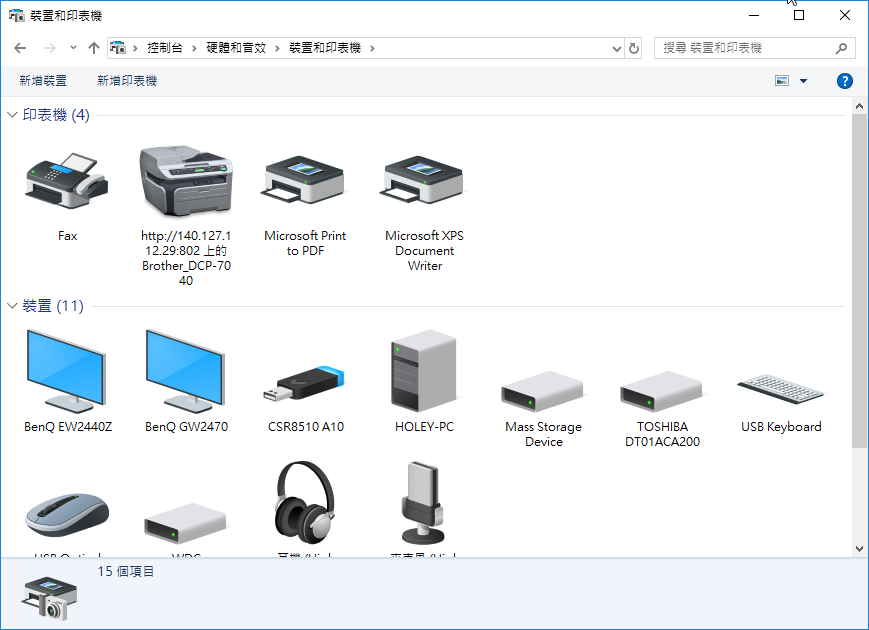
開啟 控制台\硬體和音效\裝置和印表機。
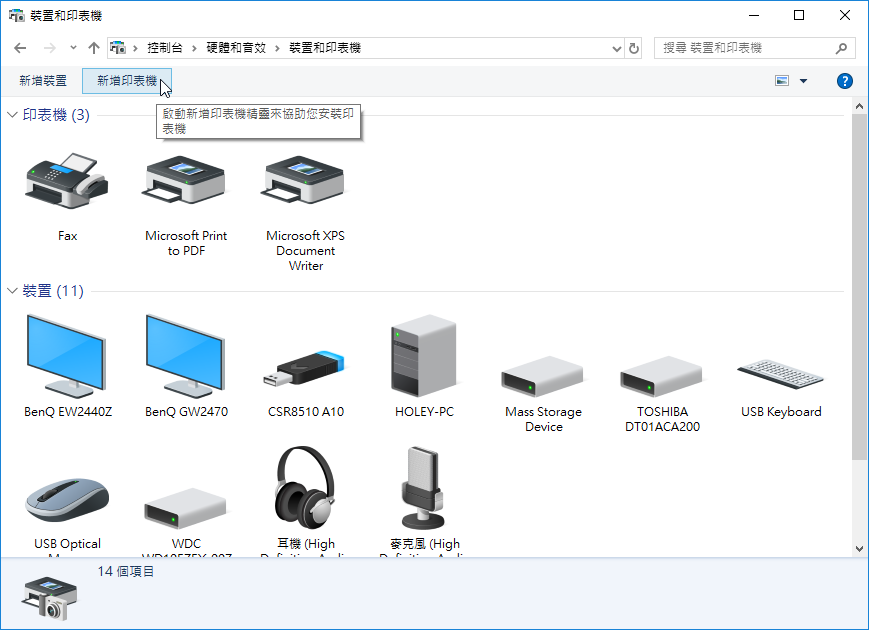
點選新增印表機。
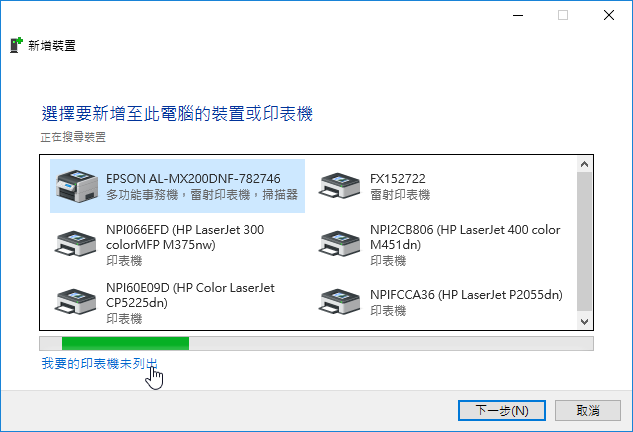
選擇 我要的印表機未列出。
選擇 依名稱選取共用的印表機,並輸入 http://your.ip.address:631/printers/Brother_DCP-7040。
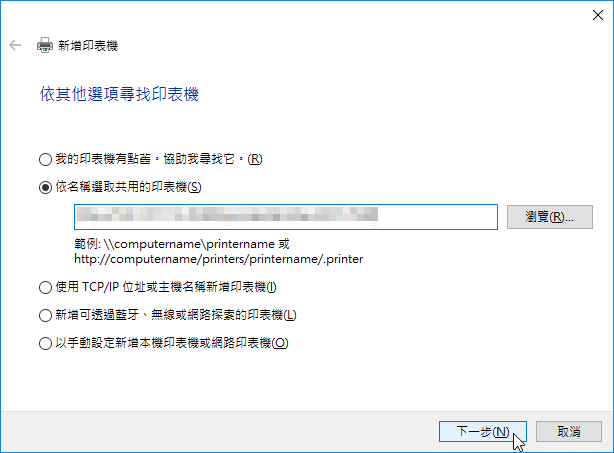
若本機無 Brother DCP-7040 Printer 驅動程式則選擇從磁片安裝,若本機已有驅動程式則直接選擇即可。
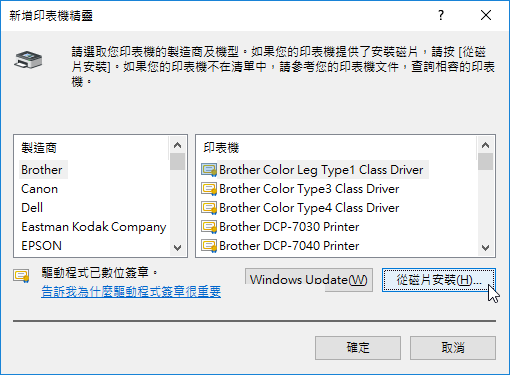
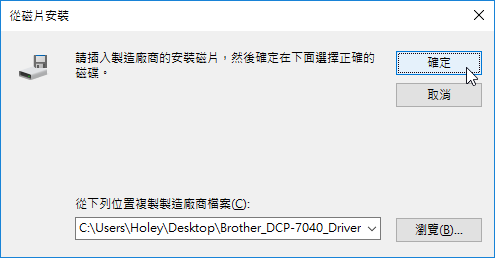
選擇 Brother_DCP-7040_Driver 資料夾中的 brimm07a.inf。
選擇 Brother DCP-7040 Printer。
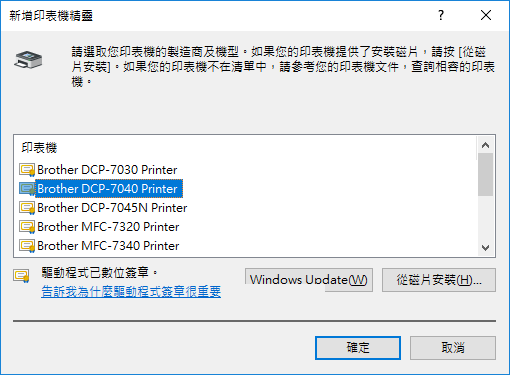
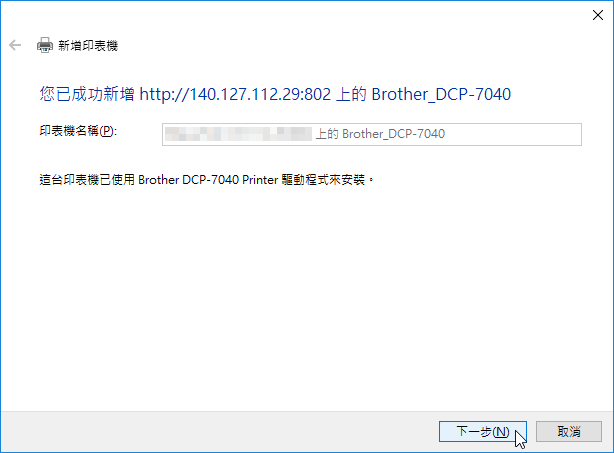
印表機新增成功。
